
Introduction
A frozen setup screen derails your plans fast. When a Chromebook hangs on the message ‘Getting the device ready’, ChromeOS is telling you that setup cannot complete. The trouble usually comes from network access, time and certificate validation, or a half-finished system update. Sometimes a managed device enforces enrollment and stalls without the right network rules. In rare cases, hardware causes the delay.
This guide gives you a clear path from quick checks to deep fixes. You will start with rapid tests that solve many cases in minutes. If the spinner remains, you will move through proven network, time, and update checks. When resets are necessary, you will know whether to use Powerwash or full recovery and what data each option erases. Special sections cover managed school devices and ChromeOS Flex on older hardware. Follow the sections in order, and you will diagnose, fix, and prevent repeats with confidence.
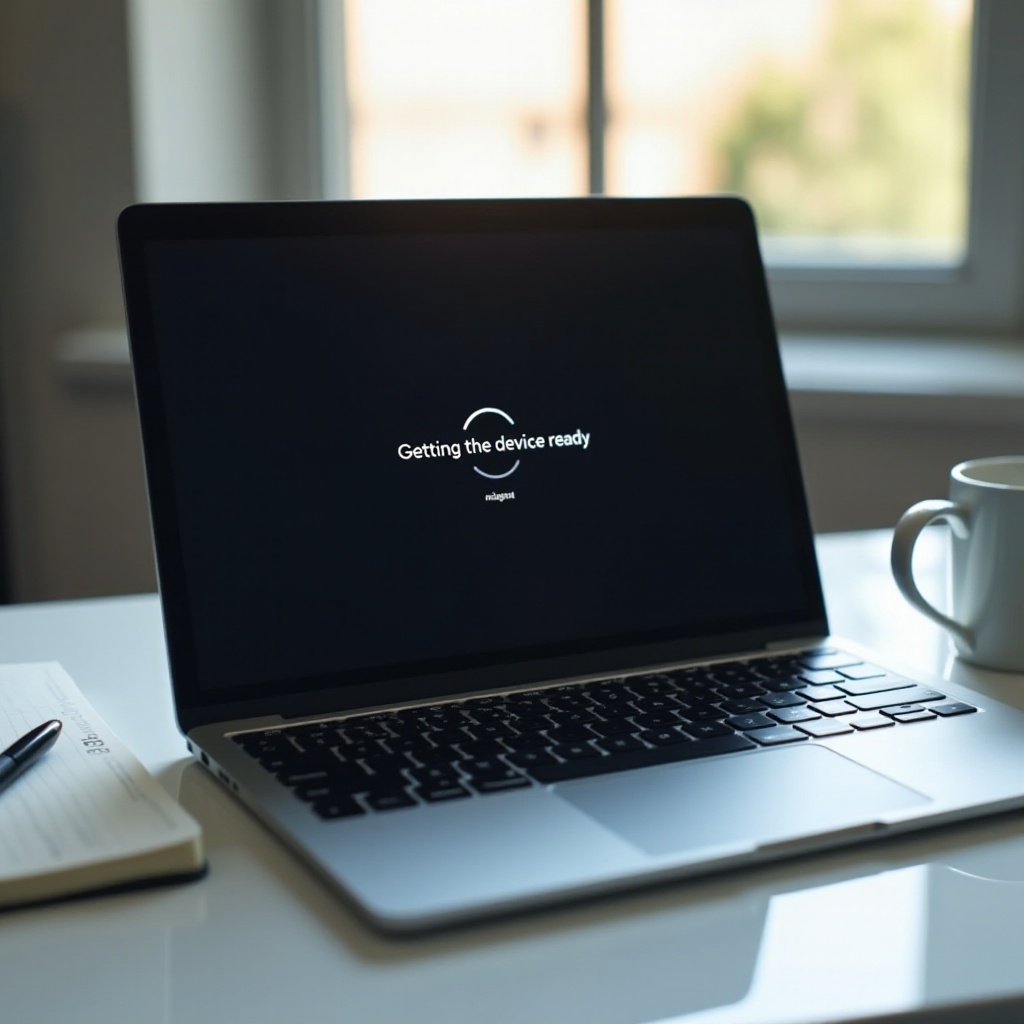
What ‘Getting the device ready’ actually means on ChromeOS
Before jumping into fixes, it helps to know what the system is doing. The out-of-box experience (OOBE) runs the first time you power on or after a reset. You choose language, connect to Wi‑Fi, accept terms, and sign in or enroll. The screen reads ‘Getting the device ready’ while ChromeOS verifies the clock, checks certificates, tests connectivity, fetches essential components, downloads updates, and applies policies if the device is managed.
Any failure in those steps can hold the spinner. A captive portal can block required calls. DNS can misdirect traffic. SSL inspection can break trust. An incomplete update can leave the OS in limbo. With that context, you can focus on the most likely blockers instead of guessing.
Quick fixes when your chromebook stuck on getting the device ready screen
Start with small, low-risk steps. These clear many stalls without changing settings or wiping data.
Force reboot and hard reset (Refresh + Power)
- Hold Refresh and tap Power to reboot.
- If the spinner returns, perform a hard reset: hold Refresh, then press and hold Power for about 10 seconds, release both, and power on.
- Keep the charger connected during these steps to avoid power dips.
Try a different Wi‑Fi or mobile hotspot; avoid captive portals
- Join a simple WPA2 or WPA3 SSID without a splash page.
- Hotel, airport, or campus portals often block OOBE. Switch to a phone hotspot or a home router.
- If available, use Ethernet through a USB‑C or USB‑A adapter.
Keep it plugged in and let background updates finish
- Leave the device on power and connected for 20 to 30 minutes.
- Do not close the lid while waiting, so downloads and component installs can complete.
Disconnect USB drives, SD cards, docks, and peripherals
- Unplug everything except power.
- Faulty media or docks can interfere with boot and confuse setup.
If none of these fast checks help, assume the network path is the next suspect and move to deeper connectivity diagnostics.
Network troubleshooting that actually works
If the device cannot reach Google services cleanly, OOBE will not finish. Testing a known-good network is the fastest way to confirm this. If you must use a filtered or enterprise network, be sure it allows the right domains and protocols.
Detect and bypass captive portals, proxies, and content filters
- Captive portals often block OOBE traffic. Use a portal-free SSID or a phone hotspot until the first sign-in completes.
- Transparent proxies and deep packet inspection can break sign-in and updates. Temporarily bypass inspection or whitelist required domains during setup.
- If your network requires a proxy, confirm credentials prompt correctly during OOBE and that unauthenticated traffic to required endpoints is not blocked.
Switch DNS and prefer IPv4 if needed
- Use reliable DNS such as 8.8.8.8 and 1.1.1.1 on your router or hotspot.
- Some environments have unstable IPv6. If possible, test with IPv6 disabled on the router or with an IPv4-only guest network.
- Avoid custom DNS that blocks or hijacks Google domains.
Required Google endpoints and ports to allow during setup
- Allow outbound to accounts.google.com, clients2.google.com, clients4.google.com, update.googleapis.com, dl.google.com, gvt1.com, googleapis.com, gstatic.com, connectivitycheck.gstatic.com, and mtalk.google.com.
- Open ports 80 and 443. Allow QUIC traffic over UDP 443 where permitted. Allow port 5228 for mtalk and related services.
- Do not intercept or rewrite TLS for these domains. Present a valid public CA chain to the device.
If connectivity is open and stable yet the spinner persists, the next hidden blockers are time, trust, and update state. Fix those and many stubborn stalls disappear.
Time, trust, and updates: the silent blockers
Accurate time and trusted certificates are non-negotiable for secure services. Even with strong Wi‑Fi, OOBE fails if the clock is wrong or TLS breaks. A partial or mismatched update can also cause hangs.
Fix incorrect date and time and ensure NTP sync
- Devices that sat unused for months can drift. A weak RTC battery can also skew time.
- Connect to the internet and wait a minute for NTP to sync. If time remains wrong, perform a hard reset and reconnect to a different network.
- Avoid portal networks that block NTP and related validation calls.
Resolve certificate and SSL inspection issues
- If your network performs HTTPS interception, push the root CA using proper ChromeOS management or bypass interception for Google domains during OOBE.
- On another device on the same network, test access to a few Google endpoints to confirm clean TLS handshakes.
Handle OS version mismatches and partial updates
- If ChromeOS attempted an update, OOBE might stall until it completes or rolls back.
- Leave the device online and powered for 20 to 30 minutes. Watch for reboots that indicate a completed update.
- If nothing changes, plan a reset path: Powerwash first, then recovery if needed.
Once you confirm the network, time, and trust pieces are solid, a lightweight reset often clears stubborn software state. Choose the least disruptive option that fits your situation.
Choose the right reset: Powerwash vs. full recovery
When the system state is corrupt, a reset solves what settings alone cannot. Start with Powerwash, which is faster and less disruptive, before moving to a full recovery reinstall.
When a Powerwash is the fastest path
- Powerwash returns the device to factory state and removes local profiles and settings.
- From the sign-in screen, press Ctrl + Alt + Shift + R, choose Restart, then select Powerwash.
- If you cannot reach the sign-in screen because OOBE is stuck, move to recovery mode.
Entering recovery mode and creating USB media
- Turn off the Chromebook.
- Hold Esc + Refresh and press Power to enter recovery mode.
- On another computer, install the Chromebook Recovery Utility and prepare a USB or SD card using the model number shown on the recovery screen.
Data implications and what gets erased
- Powerwash removes local users and their local Downloads content. Cloud data in Google Drive stays intact.
- Full recovery wipes internal storage and reinstalls the OS.
- Back up any local files you can reach before resetting.
If Powerwash does not help or you cannot access it, a clean reinstall replaces damaged components and clears stuck updates.
Full ChromeOS reinstallation steps
A full reinstall gives you a fresh OS image and often resolves persistent OOBE errors. Follow these steps carefully to avoid image errors and version pitfalls.
Use Chromebook Recovery Utility to create media
- On a separate computer, install the Chromebook Recovery Utility from the Chrome Web Store.
- Launch the utility and enter the model or select your device from the list.
- Write the image to a 4 GB or larger USB drive or SD card.
Verify image integrity and avoid version pitfalls
- Let the utility verify the image; do not interrupt the process.
- Use a known-good USB drive and port. If the first creation fails, repeat the process with a different drive.
- Avoid mixing old images from unknown sources; always generate fresh media.
Clean reimage checklist for a smooth first boot
- Insert the recovery media into the Chromebook and follow on-screen steps to reinstall.
- Remove the media when prompted. The device will reboot to OOBE.
- Connect to a simple, portal-free network and let updates apply before signing in.
If the device is owned by a school or company, policies can shape every step of OOBE. Handle those rules next to avoid enrollment loops.
Managed or school Chromebooks: special considerations
Enterprise management changes how setup behaves. You may see forced enrollment, certificate prompts, or blocked device states. Network requirements also increase because policy and enrollment services must load during OOBE.
Forced re-enrollment and device state implications
- Many organizations enforce re-enrollment after Powerwash or recovery.
- You cannot bypass this requirement without admin changes. The device will return to the enrollment screen until it completes.
- If enrollment fails, check network access to the required Google endpoints and identity provider services.
Deprovisioning, blocked status, and zero-touch conflicts
- In the Admin Console, devices can be marked blocked, stolen, or pending return. These states can prevent sign-in or stall enrollment.
- Zero-touch tokens can auto-enroll devices. Mismatched org units or policy conflicts can create loops.
- Contact your admin to verify device state, policy assignment, and certificate deployment.
When to escalate to your IT admin or vendor
- If you see a disabled message, repeated enrollment loops, or certificate prompts that do not clear, contact IT.
- Provide the serial number, model, and the networks you tested.
- For suspected hardware faults, open a warranty case with the OEM.
Not every stall is software. Rule out hardware faults so you do not waste hours chasing network or policy ghosts.

Hardware red flags and quick diagnostics
Hardware problems reveal themselves as intermittent freezes, reboots, or missing radios. A few checks can confirm whether you need repair instead of more software tweaks.
Battery, eMMC storage, and Wi‑Fi card failure symptoms
- Battery: the device shuts off under load, will not hold charge, or boot loops unless plugged in.
- Storage: frequent crashes, recovery prompts, or inability to apply updates suggest eMMC or NVMe failure.
- Wi‑Fi card: no networks detected on multiple known-good routers, or drops during OOBE while Ethernet works fine.
Keyboard, display, and key-combo sanity checks
- Confirm Refresh, Esc, and Power keys work. If combos fail, try an external keyboard.
- Attach an external monitor to rule out display issues masked by the spinner.
- If key combos do not register on any keyboard, suspect a mainboard issue.
RMA criteria and when hardware replacement is likely
- Recovery fails repeatedly on different media and networks, pointing to storage or board problems.
- No wireless networks appear across several routers, suggesting Wi‑Fi radio failure.
- Gather diagnostics and contact the manufacturer for repair or replacement.
Some setups differ, especially ChromeOS Flex on older PCs and Macs. Handle those differences so you can complete OOBE even when drivers or firmware vary.
Special cases: ChromeOS Flex and older hardware
ChromeOS Flex supports a wide range of hardware, but drivers and firmware are not identical to native Chromebooks. OOBE can stall if a chipset is unsupported or a firmware setting blocks boot.
UEFI, Secure Boot, TPM, and firmware settings to verify
- Prefer UEFI boot. Disable Legacy or CSM when possible.
- If the system fails to boot Flex, toggle Secure Boot: some machines need it enabled, others disabled.
- Use AHCI for SATA storage. Exotic RAID or IDE modes can prevent detection.
Wi‑Fi driver gaps at OOBE and Ethernet workarounds
- Some Wi‑Fi chipsets do not appear during first boot. In that case, OOBE shows no networks.
- Use Ethernet via a supported USB adapter for initial setup and updates.
- After updating, Wi‑Fi may start working. If not, keep using Ethernet or replace the Wi‑Fi card with a supported model where practical.
Unsupported chipsets and practical alternatives
- Very old GPUs, uncommon Wi‑Fi cards, or unusual storage controllers can block OOBE.
- Recreate the installer on a different USB drive and try other ports.
- If Flex remains unstable, consider a different machine or a supported OS.
After handling special cases, choose your next step quickly with a simple flow. It helps you avoid trial and error and minimizes downtime.
Step-by-step decision tree to get unstuck faster
If stuck before Wi‑Fi join: what to try first
1) Reboot and hard reset.
2) Move to a basic WPA2 or WPA3 network or a phone hotspot.
3) If Wi‑Fi does not appear at all, plug in Ethernet or suspect a driver or hardware issue.
If stuck after Wi‑Fi join: isolate network vs. OS issues
1) Switch to a different network or hotspot to rule out filtering.
2) Change DNS to a public resolver and avoid portals or proxies.
3) Wait 20 to 30 minutes for updates. If nothing changes, Powerwash.
If stuck after sign-in or enrollment: policy and device state
1) For personal devices, Powerwash first; if still stuck, perform full recovery.
2) For managed devices, confirm enrollment and device state with IT.
3) If recovery fails repeatedly, check hardware and open a support ticket.
Before calling support, collect key information. Complete notes shorten resolution time and improve outcomes with IT or the manufacturer.
What to collect before contacting support
Use Alt + V on recovery screen to capture diagnostics
- In recovery mode, press Alt + V to enable verbose output.
- Note any error codes and board names shown.
- Take photos of the screen for reference.
Note serial numbers, build or version, and recovery image ID
- Record the serial number and model from the label or recovery screen.
- If you can boot, note the ChromeOS version and channel.
- Keep the Recovery Utility image identifier and the USB drive you used.
Record reproduction steps, network details, and error screens
- Describe the exact step where the device stalls.
- List every network you tried, which DNS you used, and whether a portal or proxy was present.
- Attach screenshots or photos of the spinners and error prompts.
With a clean fix in place, close the loop by preventing repeats. A few network and maintenance habits go a long way.
Prevention: keep it from happening again
Network hygiene, DNS stability, and allowed domains
- Use reliable DNS resolvers and avoid aggressive filtering of Google domains.
- Whitelist critical Google endpoints during OOBE and avoid SSL interception.
- Keep onboarding SSIDs free of captive portals.
Update strategy, staged rollouts, and maintenance windows
- Keep devices charged and online regularly so updates apply promptly.
- In fleets, release updates in stages and test on a small group first.
- Set maintenance windows for carts and lab devices to stay current.
Storage health, periodic checks, and accessory best practices
- Avoid filling local storage; low space can hinder updates.
- Replace weak batteries and failing storage early.
- Disconnect unnecessary peripherals during setup and major updates.
Conclusion
When chromebook stuck on getting the device ready appears, the fastest fixes start with network and end with resets only if needed. By testing a clean Wi‑Fi path, verifying time and trust, and allowing updates to finish, most users clear the spinner quickly. Powerwash or a full reinstall resolves stubborn software issues. Managed devices may require admin help to satisfy enrollment policies. If repeated failures occur across networks and resets, suspect hardware and gather diagnostics before seeking repair. Use the decision steps in this guide to move fast, avoid guesswork, and keep your Chromebook reliable.
Frequently Asked Questions
Why does my Chromebook say ‘Getting the device ready’ for so long?
Setup depends on internet access, a correct clock, and clean access to Google services. Captive portals, proxies, DNS issues, or SSL inspection commonly block OOBE. A partial update or version mismatch can also delay first boot. Start with a simple network or hotspot, wait 20–30 minutes for updates, then use Powerwash if needed.
Is a Powerwash safe, and will it fix this issue?
Powerwash is safe for cloud data linked to your Google Account. It removes local profiles and files stored on the device. It often clears stuck setup caused by corrupted settings or incomplete updates. If Powerwash does not help, reinstall ChromeOS using recovery media to replace system files and reset deeper OS state.
How do I recover a managed Chromebook stuck on the setup screen?
Use the same steps—network swap, wait for updates, then recovery if needed—but expect forced re-enrollment after a reset. If enrollment loops or shows a disabled message, contact your IT admin with the serial number, model, and network details. The admin may need to adjust device state, whitelist domains, or bypass SSL inspection for Google services during OOBE.