
Introduction
Choosing a digital camera for video recording starts with clear goals. Do you want sharp 4K YouTube videos, cinematic short films, or reliable long-form event coverage. Your use case sets the path for features, budget, and accessories. The right camera saves time in setup and in post, cuts reshoots, and gives your content a crisp, consistent look.
You will learn how to pick a camera with the right sensor, codec, and stabilization for your needs. You will also see how to set it up quickly and capture clean audio. Then we will cover proven settings for common scenes and a simple workflow that protects your files and color. Use the quick picks to shortlist bodies, but also learn the why behind each choice so you can grow your kit with confidence.
Let us start with quick recommendations by creator type. Then we will dig into the specs and setup steps that make your shoots smooth and repeatable.
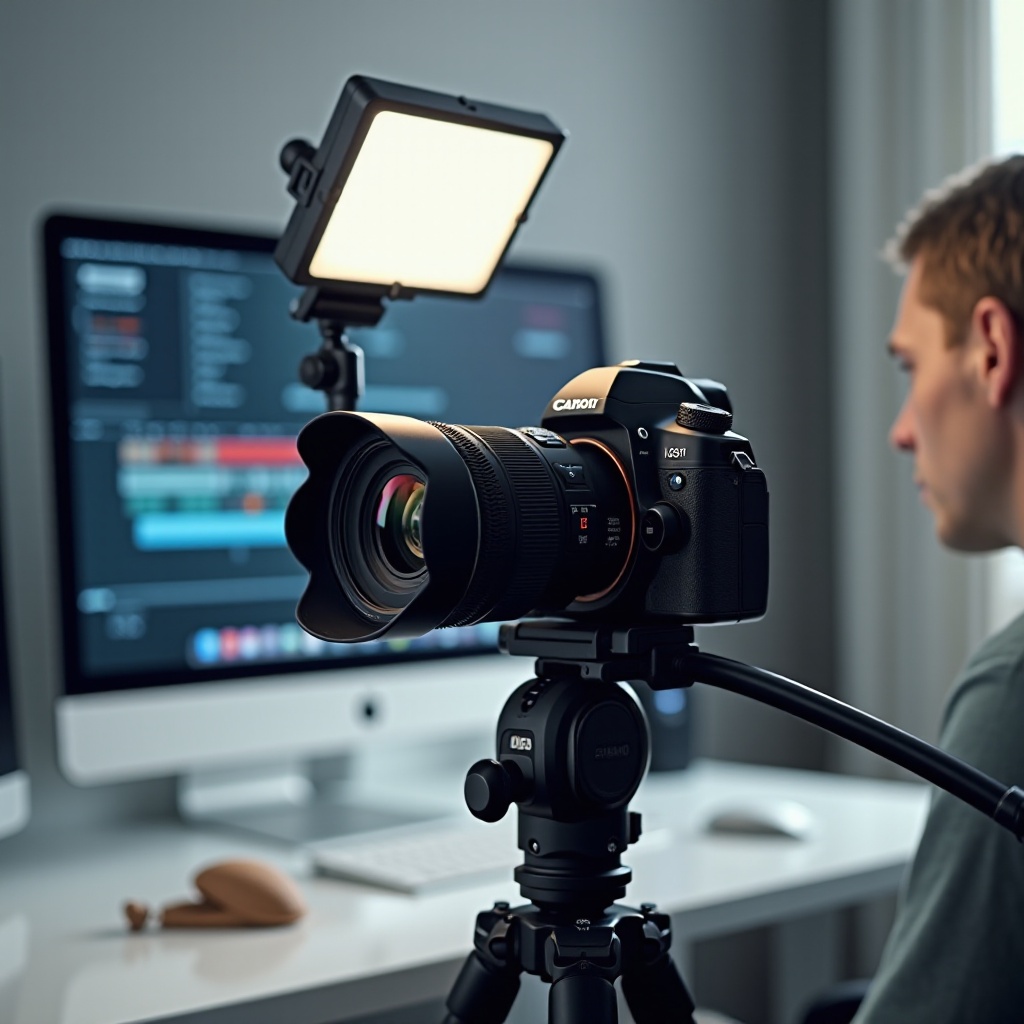
Quick Picks by Creator Type
Different creators need different strengths. Use these fast picks to focus your search for a digital camera for video recording.
Vloggers and solo creators
- Choose a compact body with a flip or fully articulating screen so framing yourself is easy.
- Fast, reliable face and eye AF is critical for walk-and-talk pieces.
- Aim for 4K30 or 4K60, strong stabilization, and a good internal mic plus a 3.5 mm input.
- USB-C UVC for webcam and live streaming adds flexibility for lives and meetings.
Event and wedding shooters
- Seek long record times with strong heat management and a clean power option.
- Dual card slots, 10-bit 4:2:2, and solid low-light performance matter.
- Continuous AF with subject tracking helps capture unpredictable moments.
- XLR handle options or strong preamps improve audio capture on location.
Indie filmmakers and documentarians
- Prioritize dynamic range, log profiles, and robust codecs that grade well.
- Internal 10-bit and high bitrates improve color and reduce banding.
- Consider IBIS plus lens stabilization for handheld scenes with movement.
- Open gate or higher than 4K modes help with reframing and vertical delivery.
Educators and business teams
- Go for simple menus, clean HDMI or USB-C output, and dependable AF.
- Unlimited or extended record time supports lectures, demos, and webinars.
- Easy audio input and headphone monitoring ensure clarity for speech.
- Consistent color and presets allow fast, repeatable setups across rooms.
With your likely use case in mind, the next step is to understand the key features and how they affect your results from day one.
How to Choose a Digital Camera for Video Recording
You should balance image quality, reliability, and workflow. These factors help you make a smart, durable choice that fits your production style.
Sensor size and readout speed
Full-frame gathers more light and can create shallow depth of field, which is ideal for portraits and cinematic looks. APS-C and Micro Four Thirds offer reach, smaller lenses, and lower costs. Faster sensor readout reduces rolling shutter skew and improves 4K60 or 120p quality. If you pan fast or shoot sports, fast readout matters more than raw megapixels.
Resolution, oversampling, and crop
Cameras that oversample 6K or more down to 4K look crisper with fewer artifacts. Check if 4K adds a crop; a heavy crop narrows your field of view and changes your lens choices. Open gate modes capture the full sensor, which is great for social reframes to vertical or square formats. Match your recording resolution to your delivery and edit hardware to avoid slowdowns.
Bit depth, chroma, and codecs
10-bit 4:2:2 captures smoother gradients and stronger color for grading and skin tones. Choose All-I or ProRes for easy editing and precise scrubbing, and Long GOP for smaller files when storage is tight. H.265 saves space but needs a stronger computer to decode. Pick the highest quality your workflow can handle without missing deadlines.
Dynamic range and log profiles
Log profiles such as S-Log3, V-Log, and C-Log protect highlights and shadows, giving you more room in color correction. Monitor with a LUT to judge exposure and skin while recording. If you do not plan to grade, a neutral profile with mild contrast can deliver pleasing color with less work. For mixed lighting, log plus careful white balance helps keep color consistent.
Stabilization and motion control
In-body stabilization, or IBIS, smooths handheld shots and helps in low light with slower shutter speeds. Electronic stabilization adds extra smoothing but may crop slightly. For walking shots or dynamic movement, a gimbal produces the most stable results. Plan stabilization with your lens choices, since wide lenses and IBIS together look smoother than a long lens alone.
Autofocus and subject detection
Modern AF tracks faces, eyes, animals, and vehicles with high reliability. Look for adjustable AF speed and sensitivity to control focus transitions in interviews and b-roll. Test AF in your exact lighting and background conditions to confirm stability. For controlled shots, manual focus with peaking and magnification can still be the cleanest option.
Now that you understand the core buying factors, let us turn complex terms into plain language so you can compare models with confidence.
Key Specs Explained in Plain English
Specs can feel dense. These simple definitions help you see what matters and what you can safely ignore.
Rolling shutter vs global shutter
Most mirrorless sensors scan from top to bottom, which can skew vertical lines in fast pans or during quick movement. Faster readout reduces this skew and helps keep straight lines straight. True global shutter reads all pixels at once and eliminates skew, but it remains less common and can add cost or reduce dynamic range. Weigh this factor if you shoot sports, whip pans, or fast action.
Shutter angle, ISO, and ND filters
Use a shutter speed near double your frame rate for natural motion blur, often called the 180 degree rule. Keep ISO as low as possible while meeting exposure for clean images. Use variable ND filters to control light without changing shutter or aperture on bright days. With ND, you can keep your look consistent across indoor and outdoor scenes.
Timecode, LUTs, and monitoring tools
Timecode syncs multiple cameras and audio recorders to speed your edit. LUTs let you preview a graded look while recording log, so you avoid exposure errors. Zebras, peaking, waveform, and false color help you expose skin and highlights with precision and focus accurately. Learn these tools once and your footage improves fast.
With the technical terms clear, it is time to match features to actual categories so you can narrow your shortlist without second guessing.
Best Categories and Use-Case Recommendations
Rather than chase specs on paper, anchor your pick to a category that fits your work and your delivery formats.
Best hybrid photo and video
Choose a body that balances 24 plus MP stills with strong 4K oversampled video, 10-bit recording, and reliable AF. Good ergonomics, a bright EVF, and weather sealing help you handle mixed shoots in any weather. Hybrid shooters should also value a wide lens ecosystem.
Best low light performer
Look for a full-frame sensor with clean high ISO, fast primes, and strong noise control. Oversampled 4K at lower ISOs keeps detail and color rich. Keep shutter near 1 over 50 or 1 over 60 and lock the camera down for the cleanest frames.
Best compact for travel and vlogging
A lightweight camera with a wide lens, good IBIS, and a flip screen wins this category. Prioritize clear audio inputs and 4K30 or 4K60 with decent battery life. USB-C charging lets you travel light without extra bricks.
Best budget starter
Aim for reliable 4K, decent AF, mic input, and 10-bit if available in your range. Skip niche features and invest in a fast prime, a variable ND, and a small on-camera mic. This trio upgrades image and sound faster than any body alone.
Best slow motion option
Seek clean 4K60 or 120p with minimal crop and manageable rolling shutter. Ensure high bitrates to keep detail and avoid mushy footage. Plan extra light because high frame rates need more exposure.
With a category in mind, your next leap in quality comes from accessories that shape motion, light, and sound more than any single body upgrade.
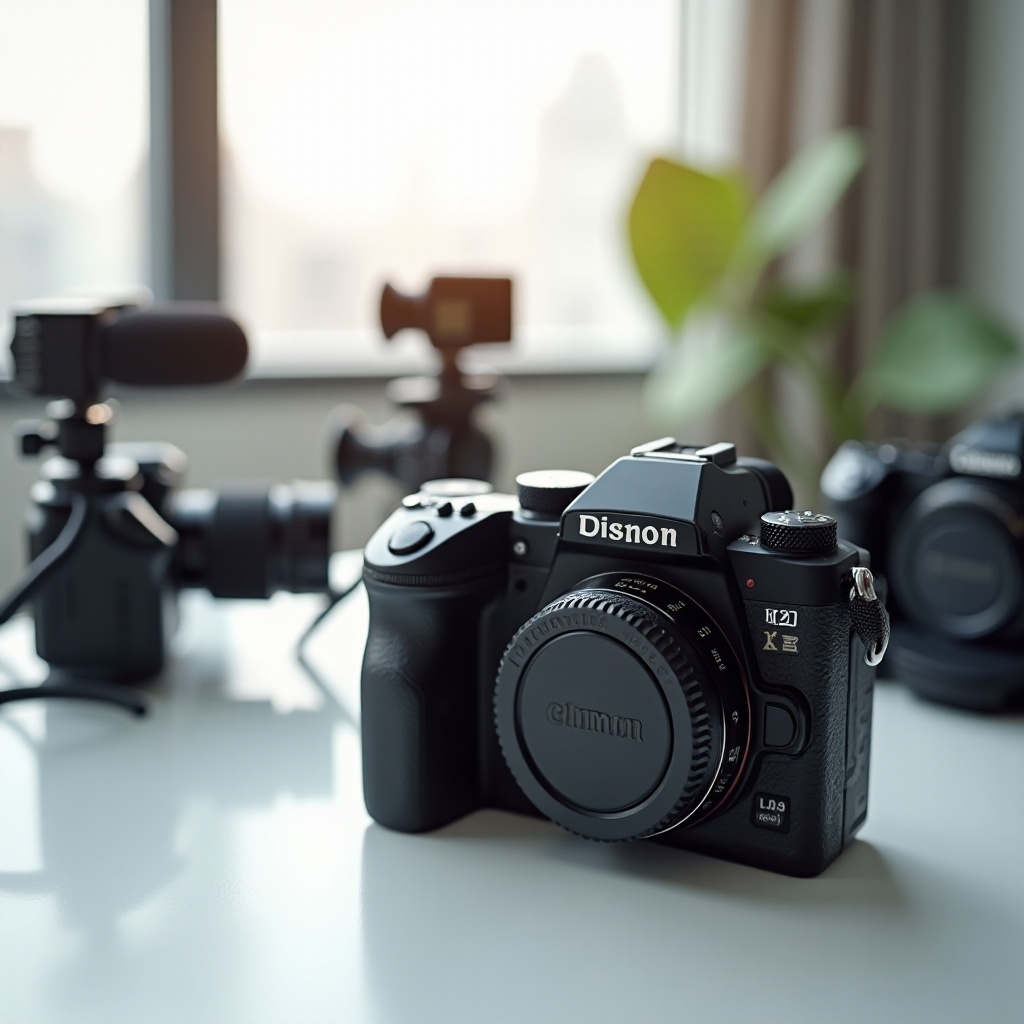
Essential Accessories for Better Video
Upgrades to audio, support, optics, and power transform your results faster than a new camera body.
Audio: on-camera, lav, and wireless
- Start with a compact shotgun mic for directional sound and better clarity than built-in mics.
- Add a lavalier for interviews and walk-and-talks when you need consistent voice pickup.
- Wireless kits deliver clean audio when you need distance or movement.
- Always monitor through headphones if your camera allows it so you catch issues early.
Support: tripod, gimbal, and cage
- A sturdy tripod locks shots for interviews, talking heads, and product demos.
- A gimbal smooths movement for dynamic scenes and elegant walk-throughs.
- A cage adds mounting points for mics, lights, handles, and cable management.
- Quick-release plates save time as you move from tripod to gimbal to handheld.
Optics: variable ND and fast lenses
- Variable ND maintains exposure outdoors without changing shutter speed or aperture.
- A fast prime such as f1.8 or faster creates blur and helps in low light for cleaner images.
- A versatile zoom covers events and run-and-gun scenarios with fewer lens swaps.
- Keep a high quality UV or clear filter for lens protection in rough conditions.
Power and media: batteries and cards
- Carry at least two spare batteries and a USB-C PD power bank or dummy battery.
- Choose SD or CFexpress cards that match your bitrate needs to avoid dropped frames.
- Label cards and rotate them to avoid accidental overwrites.
- Use a dual-slot reader for fast offloads at the end of the day.
With your kit set, you need a repeatable setup routine. The next section walks from box to your first clean, stable recording.
Setup: From Box to First Shoot
A simple setup routine saves shots and stress. Do this checklist before you hit record on any job.
Firmware, menus, and custom buttons
Update firmware, then reset settings to a known baseline. Set language, timecode if available, and custom buttons for ISO, white balance, AF mode, zebras, peaking, and stabilization. Save a custom preset for video so you can recall everything with one dial turn.
Recording formats and proxies
Pick your delivery resolution and frame rate, often 4K24 or 4K30 for standard content and 4K60 for action or b-roll. Select 10-bit if you plan to grade, 8-bit if you need small files and quick turnaround. Turn on proxy recording if your computer struggles. Set a consistent file naming method for clean edits.
White balance, exposure, and focus
Lock white balance with a Kelvin value or a custom reading for each scene. Expose using zebras or waveform to protect skin and highlights. Choose AF-C with face and eye detect for people, or switch to manual focus for controlled shots. Always test focus and exposure with a short clip before the actual take.
With the camera prepared, you can move faster on set. Next, keep ready-made settings so you do not miss a moment when light or action changes.
Proven Settings for Common Scenarios
Use these starting points and adjust for light, lens, and scene to keep a consistent look.
Walk-and-talk vlog
- 4K30, shutter 1 over 60, aperture around f2.8 to f4, auto ISO with a limit.
- IBIS plus electronic stabilization or a gimbal for smooth steps.
- Face and eye AF, AF transition speed set to slow for stability.
- Wind cut filter and foam or deadcat on the mic to tame gusts.
Sit-down interview
- 4K24 or 25, shutter 1 over 48 or 1 over 50, aperture f2 to f4.
- Manual exposure and locked white balance in Kelvin.
- Two lights: key and fill, add a backlight for separation if possible.
- Lav on talent, monitor peaks around minus 12 dB with a safety track.
Product b-roll and macro
- 4K60 for smooth movement and light slow motion.
- Manual focus with peaking; use a slider or gimbal for movement.
- Get close with a fast prime or macro; control reflections with flags.
- Shoot in log for highlight control and flexible color grading.
Low light city scenes
- 4K24 or 30, shutter 1 over 48 or 1 over 60; keep ISO as low as you can.
- Use fast lenses and stabilize with a tripod or gimbal.
- Slight underexposure protects neon highlights; grade later.
- Enable noise reduction in post, not in-camera, to protect detail.
Those recipes unlock consistent results. To finish strong, you also need a clean workflow for audio, backups, and color so edits move quickly.
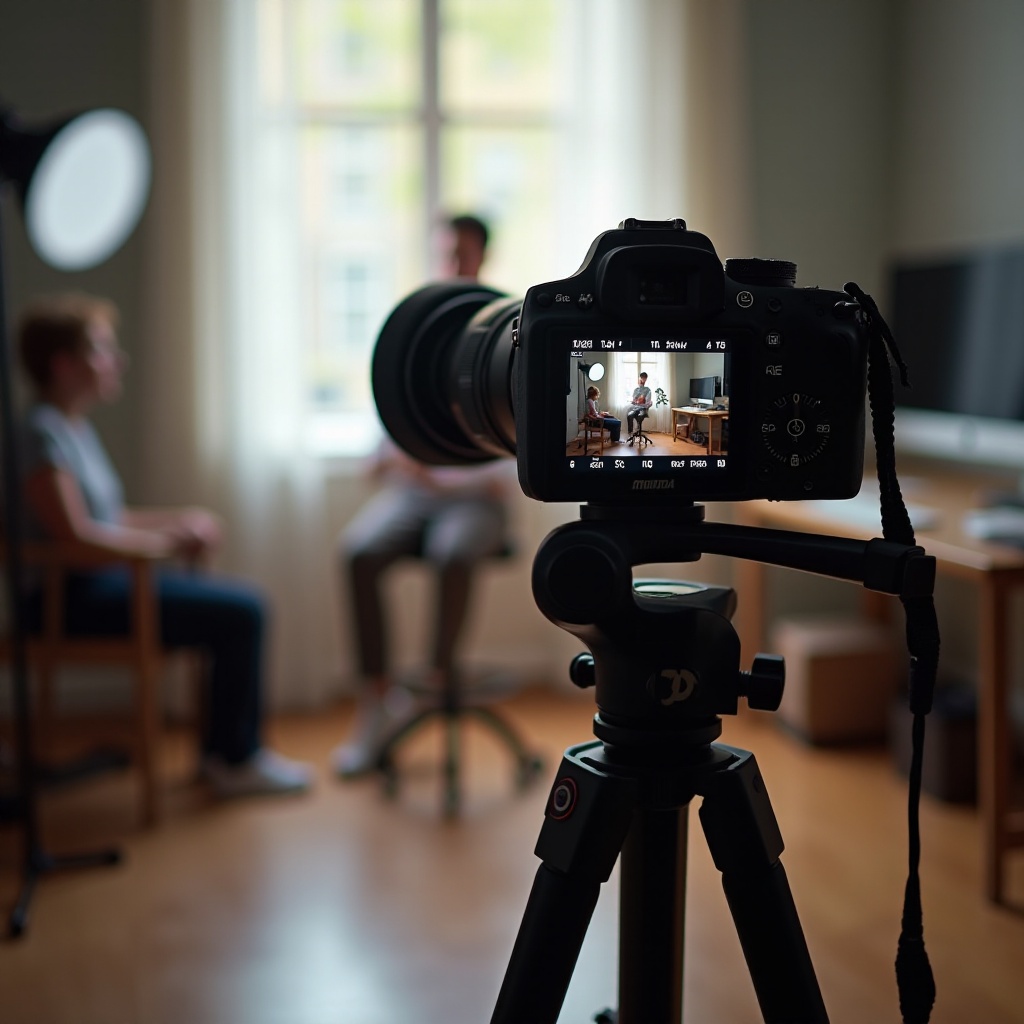
Workflow: Audio, Backup, and Color
A solid workflow protects files and speeds editing. It also keeps color consistent across cameras and scenes.
Clean audio capture and monitoring
Record a safety track at a lower level if your camera supports it. Use a low cut filter to reduce rumble from HVAC or traffic. Keep mics close to the source and monitor with headphones to catch clipping or interference. If in doubt, record a backup on a pocket recorder.
On-set backup and file naming
At breaks, offload cards to two separate drives. Verify copies before formatting cards. Use folders by date and camera, and a consistent naming scheme for clips to speed syncing. Keep a small laptop and reader in your kit to back up on location.
Log to Rec.709 with LUTs
If you shoot log, apply a technical LUT to convert to Rec.709, then add a subtle creative LUT if desired. Adjust exposure, white balance, contrast, and saturation first. Keep skin tones natural and avoid heavy looks on corporate or educational content. Save your grade as a preset to keep projects consistent.
Now you can plan your spend and schedule upgrades without wasting money on features you will not use.
Budgeting and Upgrade Path
Spend first on parts that touch the image and sound. Bodies change fast, but lenses and audio last for years.
Allocate to lenses, audio, and lights
- Start with one fast prime and one practical zoom to cover most needs.
- Add a quality on-camera mic and a simple wireless kit for speech.
- A small LED key light with soft diffusion makes faces look better than any codec upgrade.
- Do not forget small items like clamps, cold shoes, and spare cables.
When to upgrade the body
- Upgrade when overheating, AF, or missing codecs block your work or cost you time.
- Consider a second body for multicam, backup, and seamless lens changes.
- Rent before you buy to test a feature you think you need.
Smart spending protects your time and results. Still, even good gear can fail if you fall into common traps, so let us address them before you hit record.
Mistakes to Avoid with Digital Video Cameras
Avoid these pitfalls to keep footage clean and clients happy.
Overheating and record limits
Test record length at your bitrate and ambient temperature before the job. Use USB-C power or a dummy battery for long takes and give the camera airflow. If heat is common, lower bitrate, reduce frame rate, or add an external recorder that reduces internal processing.
Slow cards and dropped frames
Match card speed to your codec and bitrate. Keep spare, tested cards on hand. Format cards in-camera before important shoots and avoid filling them to 100 percent. Build a habit of checking the remaining time display between takes.
Autofocus hunting and breathing
For interviews, use AF only if it locks without pulsing. Otherwise, switch to manual and pre-focus on the eye. Use focus transition controls to slow pulls, and choose lenses with minimal focus breathing for a more professional look.
Flicker under artificial lights
Set shutter to match mains frequency, typically 1 over 50 or 1 over 60. Use anti-flicker modes if your camera offers them. Avoid dimmer settings on lights that cause visible pulsing, and test scenes with a quick pan to spot flicker.
You have set a strong foundation. To wrap up, focus on matching features to your content and building habits that make consistency easy.
Conclusion
Pick a digital camera for video recording by matching features to your real work. Favor strong AF if you film yourself. Favor dynamic range and robust codecs if you grade. Stabilization, audio, and lighting raise production value more than a new body alone. Build a small, reliable kit, lock in a setup routine, and use proven settings for common scenes. With those habits, your videos will look sharp, sound clean, and keep clients or viewers coming back for more.
Frequently Asked Questions
Is 10-bit necessary for YouTube and social content
10-bit helps when you grade, push exposure, or use log profiles. If you stick to standard profiles and light edits, 8-bit can work. For smooth skies and skin, 10-bit is safer.
Do I need 6K or is 4K enough for a digital camera for video recording
4K is the sweet spot for quality and workflow today. 6K or open gate helps with reframing and multi-platform crops. If you deliver in 4K, stay with 4K for a faster edit.
How do I prevent overheating during long video shoots
Lower bitrate or frame rate, use USB-C power, and give the body airflow. Avoid direct sun, break long takes if limits apply, and consider an external recorder to reduce heat.